So, the target is set and we're now working on getting the right tools in place. In my last post I talked about how I got my Wacom tablet set up properly (enough). Now, I don't want to spend a nice hardware set up and a good intention on Microsoft Paint so I need some software to help me in my quest. I've dabbled with Inkscape on some occasions, creating icons for software I've written, so I'm going to try to keep using that.
Inkscape is a program for editing vector graphics, like clip art and such. Inkscape is a nice and free replacement for Adobe's Illustrator, more than able enough when it comes to manipulating paths. I wonder if there are some other nice (and free) tools out there? After a quick googlearound I found this gem of info on the lifehacker site:
Build Your Own Adobe Creative Suite with Free and Cheap Software. I've used
Gimp (Image processing software. Free, open source replacement of Adobe PhotoShop) before and I can see how that would be valuable. I'll install that and leave the rest for now.
Jumping into Inkscape it soon becomes pretty obvious that just straight up drawing in Inkscape using the tablet is a completely hopeless task. Modifying geometric objects, bezier curves and such using the tablet isn't very smooth either. Probably it's possible to master that in due time but.... naw ... for Inkscape, I'll stick to working with paths using the mouse.
Now, diving into creating a character using Inkscape is sort of building with blocks. Creating different geometrical elements and paths, joining them and modifying the lines and nodes to strive closer and closer to the desired result. Something like the steps of my drawing below.
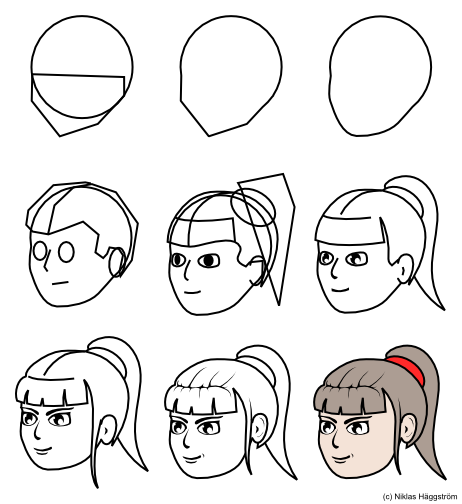 |
| Direct drawing in Inkscape by modifying objects and paths. |
This process is quite straightforward and it gives the artist great control. If a line doesn't seem quite right, just bend it a bit or move a node or something to manipulate it until you're happy. I have one problem with this methodology though, it's extremely hard - for me at least - to predict the end result early in the process. As you can see in the illustration above, it's really not until the fifth iteration of refinement that you can actually start to define the characteristics of your... eh... character. For a one shot illustration this will work just fine, but if you're want to draw a character that has a lifespan that stretches before and maybe after this certain illustration it will become difficult - I think - to start your drawing in a way that will lead you to the result you're after. For me this is where I believe sketches come in handy. Maybe now I can - at last - start using my tablet.
Plugging in the tablet and firing up Gimp I soon realize that something isn't really the way it's intended. Making sketches, for me - a man with no pencil control - is a matter of making a lot of faint lines until I have something close enough to what I'm after and then defining the lines with some more distinct strokes and a lot of erasing. What I get in Gimp now is nothing like that.
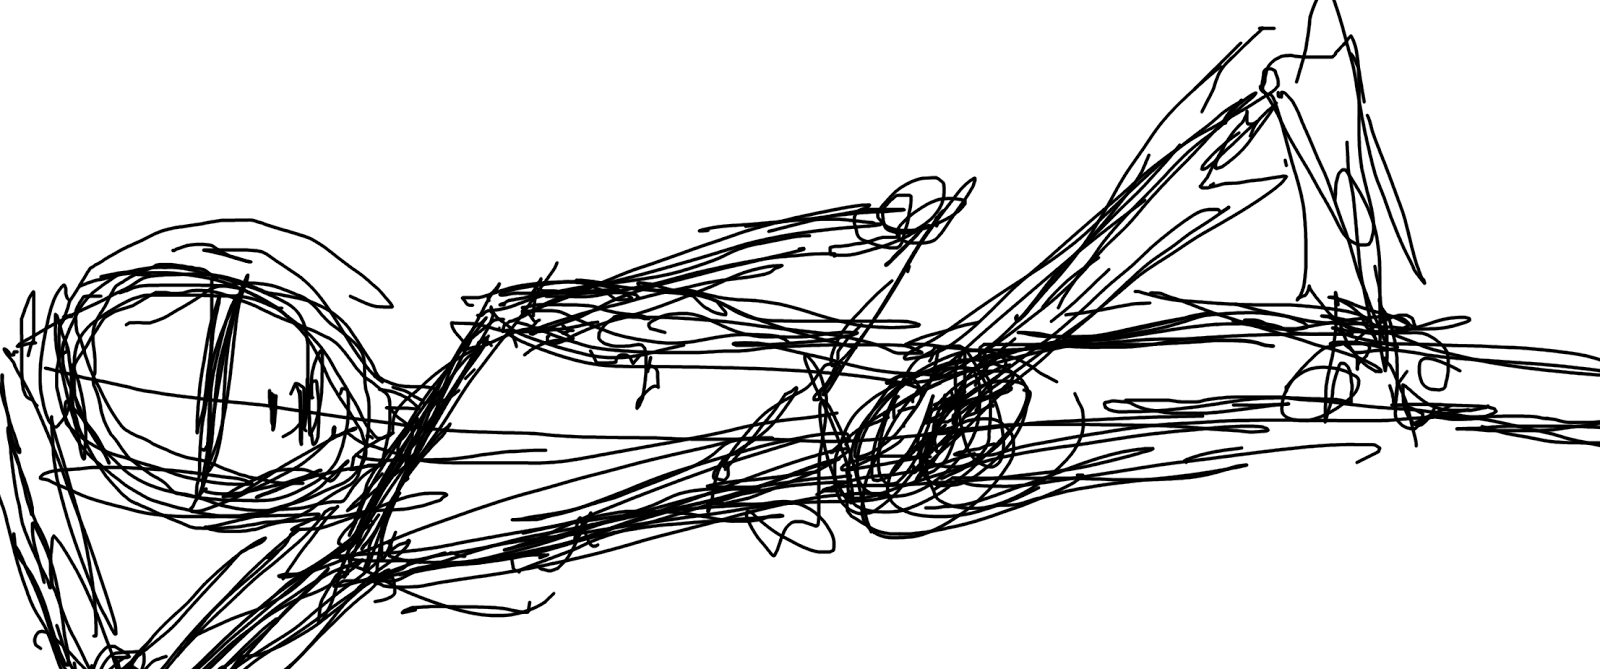 |
| My first sketch made in Gimp. |
What I need from my tablet (and is said that it can deliver) is some pressure sensitivity. Now despite how hard/soft I press the pen on my tablet the lines are all the same width and color. No like. After searching the Internet for quite a while, reading a bunch of articles and watching numerous YouTube intros I found this YouTube clip:
How to Configure a Wacom Intuos Graphic Tablet Pen.
An extremely clear, straightforward, informative and well made tutorial on how to make a Wacom Intuos tablet work well with Gimp. The clip is made and published by somebody called
VscorpianC, thank you very, very much +VscorpianC! Well done!
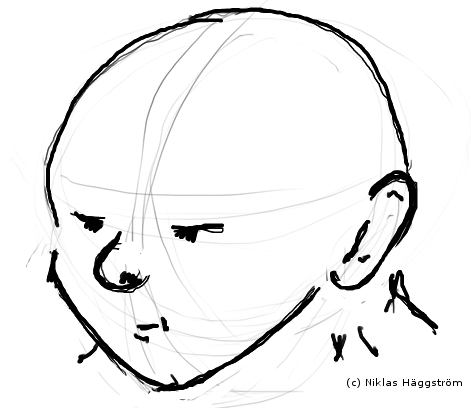 |
| Sketch in Gimp, now with pressure sensitivity. |
Aaah, that's better! The aforementioned tutorial also enabled the back of my tablet pen to work as an eraser, THAT, I NEEDED! Now I've got a way to actually draw, using my tablet directly into Gimp to create sketches. Bless! Working with the tablet and Gimp reviled quickly some minor quirks. My tablet has some kind of a scroll ring type area to one side. The ring has a button in its center where you can toggle the function of the ring. These defaults to Scroll, Zoom, Brush size and Rotate. The problems I've got is that neither Scroll och Brush size seems to work in Gimp. It would be nice to get them to work.
I've noticed my cursor going nuts when messing with the touch ring so I know it does something. Going into the keyboard shortcut menu in Gimp I learn that the zoom out/zoom in commands are mapped to "+"/"-" and the decrease and increase brush size commands are mapped to the brackets "["/ "]" on the keyboard. I open up the tablet settings and define a new setting for the Gimp application.
 |
| Defined applications |
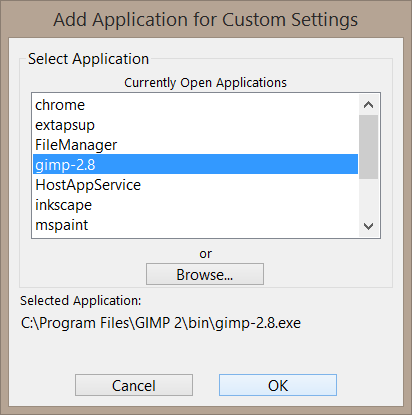 |
| Add the Gimp-application |
After that, select the new application and set it up by configuring the key strokes for the different modes. While I'm at it I configure one mode to work as Toggle Layer. I find, in the Gimp keyboard shortcut setup that the Page Up and Page Down keys jumps to the layer above/below, so that's what I set in the Wacom config.
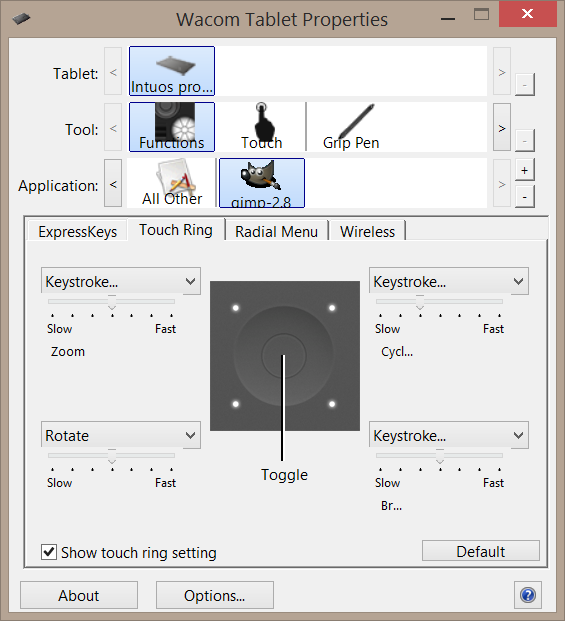 |
| The Wacom tablet config. |
Well, now I've got my digital environment set up all nice. I've installed Inkscape and Gimp and managed to get my Wacom Intuos Pro tablet working all fine with Gimp. Now I have noting but myself to blame if I suck. Anyhow, that's all for now, I hope to be able to get some creating done in the near future.
10-4. //Niklas


No comments:
Post a Comment